Write Your First Real Ansible Playbook: Baseline a Linux Server
Turn ad-hoc commands into a repeatable playbook that brings Linux servers to a known baseline, with check mode, diff mode and idempotence explained properly.

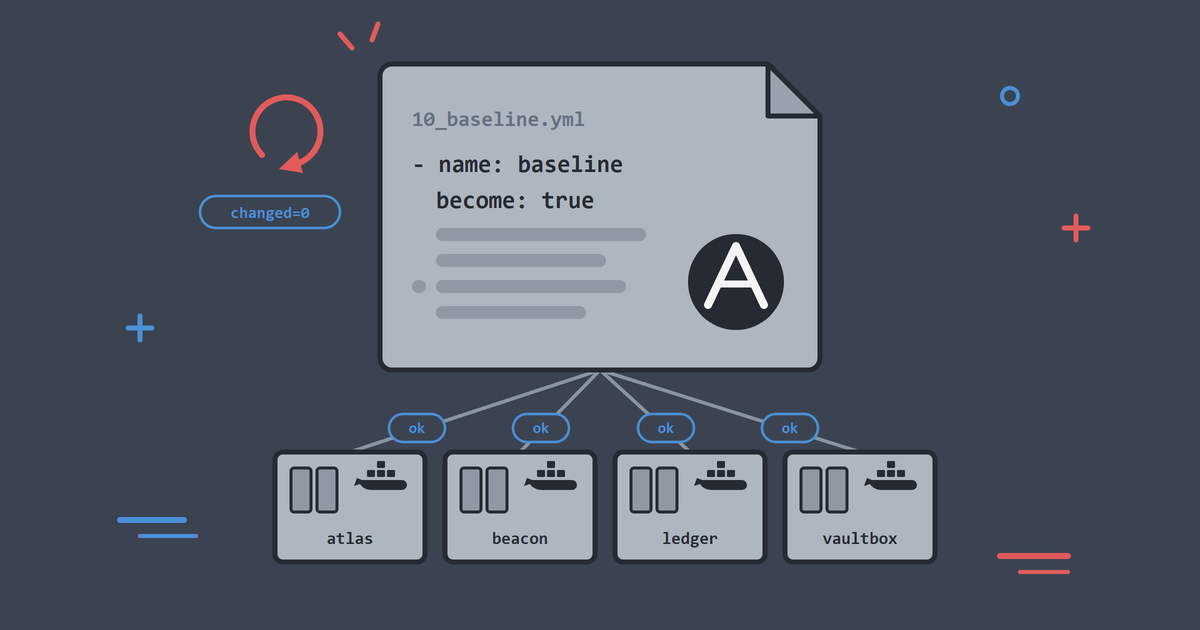
Every team that runs Linux servers has a version of the same problem. A new machine arrives, someone sets it up by hand, and six months later nobody can say exactly what was done to it. I have been that someone, and I have inherited machines from that someone. The next machine gets a slightly different setup. Drift accumulates and eventually bites.
The first playbook most teams need is a baseline: the set of packages, files and settings that every server should have before anyone builds on top of it. That is what we write in this article.
By the end, you will be able to:
- Read and explain a complete playbook.
- Use
becomefor privileged tasks. - Preview changes with
--checkand--diffbefore applying them. - Run a playbook twice and understand why the second run changes nothing.
- Explain idempotence in plain language.
As in the rest of the series, run the ./lab commands as .\lab.ps1 if you are on Windows without WSL. Start the lab first with ./lab up if it is not already running.
From Commands to Playbooks
In the last article you ran one module at a time. A playbook is the natural next step: a YAML file that lists which hosts to target and which modules to run, in order, with names attached. Ansible calls each module invocation a task, and a set of tasks against a set of hosts a play.
The lab ships a baseline playbook at playbooks/10_baseline.yml:
---
- name: Apply a small baseline to Linux hosts
  hosts: linux
  become: true
  gather_facts: true

  tasks:
    - name: Install baseline packages
      ansible.builtin.apt:
        name:
          - ca-certificates
          - curl
          - vim-tiny
        state: present
        update_cache: true

    - name: Create a managed directory
      ansible.builtin.file:
        path: /opt/ansible-lab
        state: directory
        owner: root
        group: root
        mode: "0755"

    - name: Write a lab message of the day
      ansible.builtin.copy:
        dest: /etc/motd
        owner: root
        group: root
        mode: "0644"
        content: |
          Managed by Ansible in the Practical Ansible lab.
Read it top to bottom:
nameon the play and on every task. Names are what you see in the output and what a colleague reads at 3am, so write them as statements of intent.hosts: linuxtargets the inventory group from the last article, rather thanall: a baseline for Linux hosts should say so explicitly.become: truetells Ansible to escalate privileges, normally via sudo. Installing packages and writing to/etcneed root; connecting as root directly is the habit we are trying to avoid.gather_facts: truecollects facts at the start of the play, so tasks and templates can use them.- Three tasks, each using a module you could have run ad-hoc:
apt,file,copy. The playbook adds order, names and repeatability.
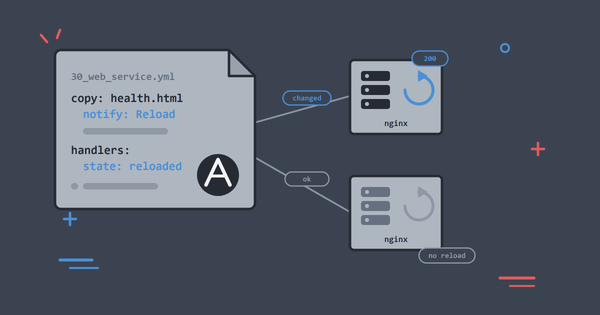
The playbook never says "run apt-get install". It says "these packages should be present". That difference in phrasing is the core of Ansible: you declare the state you want, and the module works out whether anything needs doing.
Preview First: Check Mode and Diff Mode
You would not push a change to forty servers without knowing what it will do. Ansible has two flags for this, and they work together:
--checkruns the playbook without changing anything, reporting what would change.--diffshows before and after detail for whatever would change: file content for the motd task, a state change for the directory.
Run the preview:
./lab play playbooks/10_baseline.yml --check --diff
On a fresh lab, the interesting part of the output looks like this for each host:
TASK [Install baseline packages] ***********************************************
ok: [atlas]

TASK [Create a managed directory] **********************************************
--- before
+++ after
@@ -1,4 +1,4 @@
 {
     "path": "/opt/ansible-lab",
-    "state": "absent"
+    "state": "directory"
 }

changed: [atlas]

TASK [Write a lab message of the day] ******************************************
--- before
+++ after: /etc/motd
@@ -0,0 +1 @@
+Managed by Ansible in the Practical Ansible lab.

changed: [atlas]

PLAY RECAP *********************************************************************
atlas                      : ok=4    changed=2    unreachable=0    failed=0    skipped=0    rescued=0    ignored=0
beacon                     : ok=4    changed=2    unreachable=0    failed=0    skipped=0    rescued=0    ignored=0
ledger                     : ok=4    changed=2    unreachable=0    failed=0    skipped=0    rescued=0    ignored=0
vaultbox                   : ok=4    changed=2    unreachable=0    failed=0    skipped=0    rescued=0    ignored=0
Read the recap line for each host. changed=2 in check mode means "two tasks would make a change": the managed directory and the message of the day. Nothing has been touched yet; SSH to a host and /opt/ansible-lab will not exist.
Look at the package task, though. It reports ok, not changed, because the lab image already ships ca-certificates, curl and vim-tiny. The task checked the state you declared, found it already true, and had nothing to do. On real estates this is most of what a baseline run looks like: the task guarantees curl on every machine the playbook will ever meet, including the ones built next year.
One honest caveat: check mode is a prediction, not a guarantee. Most modules support it well, but a task can behave differently in a real run, especially when one task depends on the result of another. Treat check mode as a strong preview, not a formal proof.
Apply the Baseline
Now run it for real:
./lab play playbooks/10_baseline.yml
The first run takes a little longer than the preview because update_cache: true makes apt refresh its package index. The recap should match the prediction: changed=2 and failed=0 on every host.
Verify the result the way you would on real infrastructure, by asking the hosts:
./lab ansible linux -m ansible.builtin.stat -a "path=/opt/ansible-lab"
./lab ansible linux -m ansible.builtin.command -a "cat /etc/motd"
Every host should report the directory exists and print the message of the day.
Run It Again: Idempotence
Now run the exact same playbook a second time:
./lab play playbooks/10_baseline.yml
PLAY RECAP *********************************************************************
atlas                      : ok=4    changed=0    unreachable=0    failed=0    skipped=0    rescued=0    ignored=0
beacon                     : ok=4    changed=0    unreachable=0    failed=0    skipped=0    rescued=0    ignored=0
ledger                     : ok=4    changed=0    unreachable=0    failed=0    skipped=0    rescued=0    ignored=0
vaultbox                   : ok=4    changed=0    unreachable=0    failed=0    skipped=0    rescued=0    ignored=0
changed=0 everywhere. The packages are present, the directory exists with the right permissions, the file has the right content, so every module reports "nothing to do".
This property is called idempotence: running the automation once or ten times produces the same end state. It sounds academic but it is the whole game, because it means:
- You can re-run the baseline on the whole estate any time, safely.
- A new server gets the same treatment as every old server: just run the playbook.
- Drift shows up as
changed=1on a host that should have been clean, which is a signal worth investigating, not a disaster.
Idempotence comes from using modules that describe state. If you write tasks as raw command calls, you lose it: command: mkdir /opt/ansible-lab fails the second time, while file: state=directory succeeds forever.
Break It, Then Heal It
The best way to feel what a baseline is for: damage a host by hand, then let the playbook repair it.
./lab ansible atlas -b -m ansible.builtin.command -a "rm /etc/motd"
./lab play playbooks/10_baseline.yml --limit atlas
The -b flag is the ad-hoc shorthand for become, the same privilege escalation the playbook declares, because deleting a root-owned file needs root too.
The recap for atlas shows changed=1: the motd task noticed the file was missing and put it back. The other tasks stayed at ok. Note the --limit atlas from the last article doing exactly what it promised: the playbook still says hosts: linux, but this run only touched one machine.
This is what "configuration management" means in practice: the playbook is a standing statement of how the servers should look, which you can enforce whenever you like.
Habits Worth Keeping
A few practices that separate a good baseline from a script in YAML clothing:
- Name every task with intent: "Install baseline packages", not "apt".
- Use fully qualified module names (
ansible.builtin.apt, notapt). It is unambiguous and matches current documentation. - Set explicit
owner,groupandmodeon files you manage. Do not inherit whatever the default happens to be. - Keep
become: trueat the play level when everything needs root, or per task when only some tasks do. Be deliberate about it. - Preview with
--check --diffbefore the first run on any host that matters, and always before running against a new group.
Common Problems
Apt Cache or Lock Errors
If a run fails with an apt lock error, another process was using the package manager. In the lab this is rare; re-run the playbook. On real servers, unattended upgrades often hold the lock briefly.
Permission Denied
If a task fails with permission errors, check become: true is set on the play or the task. Without it Ansible runs as the connection user, learner in the lab.
Check Mode Shows Changes That Never Settle
If a task reports changed on every run, it is not idempotent. Usual suspects: command and shell tasks, which report changed by default because Ansible cannot know what they did. Later in the series we use changed_when to fix that. For state-based modules, a task that never settles usually means two tasks are fighting over the same file.
Clean Up
The baseline is meant to persist, so there is nothing to undo. If you want a pristine lab for the next article:
./lab reset
./lab play playbooks/10_baseline.yml
That pair of commands is also a nice self-test: a full rebuild followed by a clean baseline should end with failed=0 everywhere.
What You Learnt
- A playbook is ordered, named, repeatable automation: plays target host groups, tasks run modules.
becomehandles privilege escalation so you never need to connect as root.--check --diffpreviews a change;--limitshrinks the blast radius.- Idempotence means describing state, not actions, and it is what makes re-running safe.
- A baseline playbook is a living statement of how servers should look, enforced by re-running it whenever you like.
Next we take on the most common access-management job in operations: managing users, SSH keys and sudo rules across a group of servers, with variables and loops doing the heavy lifting.
Keep Reading
If you have not built the lab yet, start with the first article in the series: Set Up an Ansible Practice Lab in Under 10 Minutes. The previous article, Understand Ansible Inventory, Facts and Ad-Hoc Commands, explains the inventory groups and --limit flag this playbook relies on. The lab also has a home at CloudSprocket Labs, with a quick start, FAQ and the full article series.
You can find more DevOps and automation articles on the homepage at alishaikh.me.
Official Documentation
If you want to dig deeper into what we used today, these official guides are the best places to start:
- Playbooks: the playbooks intro covers plays, tasks and execution order, and is the reference for everything
10_baseline.ymldoes. - Privilege escalation: the become guide explains the full picture behind
become: true, including becoming users other than root and the connection variables that control it. - Check and diff mode: the check mode guide spells out what a dry run can and cannot predict, which is exactly the caveat we hit above.
- Packages: the apt module page documents
update_cache, version pinning and the rest of what Debian-family package management can do declaratively. - Files and directories: the file module manages permissions, ownership, links and directory trees, and the copy module covers
contentversussrcand backups for files you overwrite.