Understand Ansible Inventory, Facts and Ad-Hoc Commands
Learn how Ansible decides which hosts to manage, how to run ad-hoc commands against groups, and how to use facts to answer real operational questions.

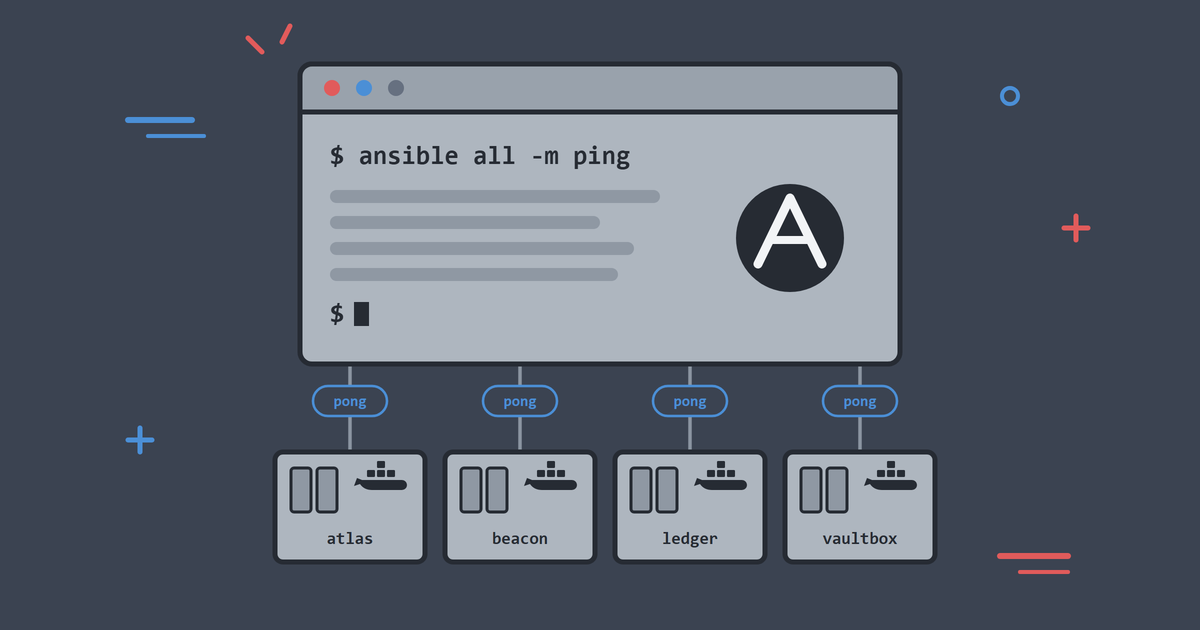
In the first article you built the lab and ran ./lab ping. Ansible connected to four hosts and reported pong. Useful, but the interesting question is how Ansible knew which hosts to contact at all.
The answer is the inventory, and it is the single most important idea in Ansible. It is also the part I ask people to slow down on: before you write bigger playbooks, you should be able to read an inventory, target the right hosts with confidence, and ask hosts questions without logging into them.
By the end of this article, you will be able to:
- Read the lab inventory and explain every line.
- Run ad-hoc commands against one host, one group or everything.
- Limit a run to a subset of hosts.
- Gather facts and pull out the values you care about.
- Answer real operational questions without SSHing into a single machine.
As in the rest of the series, run the ./lab commands as .\lab.ps1 if you are on Windows without WSL. Start the lab first with ./lab up if it is not already running.
The Operational Problem
I have been asked a version of the same question on every team I have joined: "Which of our servers are on Ubuntu 24.04, and what Python do they run?"
The manual answer is to SSH into every server and check. That works for four machines and fails for forty. The Ansible answer is one command that asks every machine at once and returns structured results. That is what this article builds towards.
The Inventory Is a Contract
The inventory tells Ansible which hosts exist, how they are grouped and how to reach them. The lab inventory lives at inventory/lab/hosts.yml and looks like this:
---
all:
  vars:
    # Key path as seen inside the forge control-node container.
    ansible_ssh_private_key_file: /tmp/lab-ssh/id_ed25519
  children:
    linux:
      hosts:
        atlas:
          ansible_host: atlas
        beacon:
          ansible_host: beacon
        ledger:
          ansible_host: ledger
        vaultbox:
          ansible_host: vaultbox
    web:
      hosts:
        beacon:
    database:
      hosts:
        ledger:
    secrets:
      hosts:
        vaultbox:
Read it from the top:
allis a built-in group that always contains every host.varsunderallapplies to every host. Here it tells Ansible which SSH private key to use.childrendefines groups. A group is just a named set of hosts.linuxcontains all four managed hosts.web,databaseandsecretsare role-based groups.beaconis a web host,ledgeris a database style host,vaultboxis for secrets practice.
Notice that beacon appears in two groups. That is normal and useful. Hosts belong to as many groups as make sense. In real estates you see groups like production, staging, london, web, postgres, and a host sits in several at once.
To see the group structure as a tree, run:
./lab inventory
This wraps ansible-inventory --graph and prints something like:
@all:
  |--@ungrouped:
  |--@linux:
  |  |--atlas
  |  |--beacon
  |  |--ledger
  |  |--vaultbox
  |--@web:
  |  |--beacon
  |--@database:
  |  |--ledger
  |--@secrets:
  |  |--vaultbox
When you join a team that uses Ansible, this graph command is one of the first things worth running. It shows you the shape of the estate in seconds.
How Ansible Decides How to Connect
Ansible combines the inventory with configuration. The lab's ansible.cfg sets the defaults:
[defaults]
inventory = inventory/lab
host_key_checking = False
retry_files_enabled = False
stdout_callback = default
interpreter_python = auto_silent
roles_path = ./roles

[ssh_connection]
pipelining = True
Two lines matter right now:
inventory = inventory/labmeans you do not have to pass-ion every command.host_key_checking = Falseis a lab-only shortcut. Lab containers are rebuilt constantly, so their host keys change constantly. On real infrastructure you should leave host key checking on and manage known hosts properly.
The connection user lives in the inventory too, one level away from hosts.yml: the file inventory/lab/group_vars/all.yml sets ansible_user: learner, and every managed host has a learner account with the lab's public key installed. group_vars is Ansible's standard place for variables that apply to a whole group, here the built-in all. So a command like ping really means "SSH to each host as learner with the lab key, run a module, return JSON".
Ad-Hoc Commands: One-Off Questions
An ad-hoc command runs a single module against selected hosts without writing a playbook. The shape is always the same:
ansible <pattern> -m <module> -a "<module arguments>"
The lab forwards any Ansible command line into the control-node container, so you can run the real thing:
./lab ansible all -m ansible.builtin.ping
Now narrow the target. One group:
./lab ansible web -m ansible.builtin.command -a "uptime"
One host:
./lab ansible ledger -m ansible.builtin.command -a "df -h /"
The <pattern> part accepts more than plain names:
alltargets everything.webtargets a group.web:databasetargets the union of two groups.linux:!webtargetslinuxhosts that are not inweb.
Before running anything with side effects, check what a pattern matches:
./lab ansible 'linux:!web' --list-hosts
  hosts (3):
    atlas
    ledger
    vaultbox
Make --list-hosts a habit. It is the difference between "I think this targets the right servers" and "I know it does". Note the quotes around the pattern: ! means something to your shell, so quote patterns that contain it.
Limits: Narrowing an Existing Target
--limit restricts a run to a subset of whatever the pattern matched:
./lab ansible all -m ansible.builtin.ping --limit atlas
That looks redundant here, because you could just write atlas as the pattern. The value shows up later with playbooks: a playbook hard-codes hosts: linux, but you can still run it against a single machine first with --limit atlas. Same automation, smaller blast radius.
Facts: Asking Hosts About Themselves
Facts are structured data Ansible gathers from each host: operating system, IP addresses, memory, disks, Python version and much more. Gather them with the setup module:
./lab ansible atlas -m ansible.builtin.setup
That prints a wall of JSON. Nobody reads all of it. Filter instead:
./lab ansible all -m ansible.builtin.setup -a "filter=ansible_distribution*"
atlas | SUCCESS => {
    "ansible_facts": {
        "ansible_distribution": "Ubuntu",
        "ansible_distribution_major_version": "24",
        "ansible_distribution_release": "noble",
        "ansible_distribution_version": "24.04"
    },
    "changed": false
}
...
That is the answer to the question from the start of the article, for every host, in one command. The lab also has a shortcut that runs a small facts playbook:
./lab facts
It prints the distribution, version and Python version for each host, which is the summary you usually want.
Facts matter beyond ad-hoc queries. Playbooks use them to make decisions: install one package name on Debian and another on Red Hat, tune a template based on memory, skip a task on the wrong OS family. You will use ansible_facts values inside templates in a later article.
Command vs Shell vs Modules
You will be tempted to do everything with -m ansible.builtin.command. Resist it.
ansible.builtin.commandruns a binary with arguments. No pipes, no redirects, no shell features.ansible.builtin.shellruns through a shell, so pipes work. Use it only when you genuinely need shell features.- Dedicated modules (
apt,user,copy,serviceand hundreds more) know how to check current state and only change what needs changing.
Compare these two approaches to checking whether a package is installed:
./lab ansible atlas -m ansible.builtin.shell -a "dpkg -l | grep curl"
./lab ansible atlas -m ansible.builtin.apt -a "name=curl state=present" --check
The first is a text search you have to interpret. The second asks the package manager directly and reports changed: false if curl is already there. The --check flag means "report what would change without changing anything". Modules with this behaviour are the foundation of idempotence, which the next article covers properly.
The practical rule: reach for a module first, command second, shell last.
A Realistic Audit Session
Put it together. Here is a short session that answers real questions a team might ask, without logging into anything:
# Which hosts can we reach right now?
./lab ansible all -m ansible.builtin.ping

# What kernel is each host running?
./lab ansible all -m ansible.builtin.command -a "uname -r"

# How much disk is free on the database hosts?
./lab ansible database -m ansible.builtin.command -a "df -h /"

# Which hosts have pending package upgrades? (lab-friendly check)
./lab ansible linux -m ansible.builtin.command -a "apt list --upgradable"
Each command targets by group, not by memorised hostnames. That is the shift Ansible asks you to make: think in groups and roles, not individual machines.
Common Problems
Pattern Matches Nothing
[WARNING]: No hosts matched, nothing to do
Check spelling against ./lab inventory. Group names are exact.
Host Unreachable
UNREACHABLE!
Run ./lab status to confirm the containers are up, and ./lab reset if the lab is in a strange state.
Shell Ate Your Pattern
If linux:!web behaves oddly, your shell expanded the !. Quote the pattern.
Clean Up
Nothing in this article changed host state except the curl check, so there is nothing to undo. Stop the lab if you are done for now:
./lab down
What You Learnt
- The inventory defines hosts and groups, and groups are how you should think about servers.
- Ad-hoc commands run one module against a pattern of hosts.
--list-hostsand--checklet you preview before you act.- Facts turn "log in and look" into "ask everything at once".
- Modules beat raw shell commands because they understand state.
In the next article we write a real playbook: bringing a fresh Linux server to a known baseline, running it safely with check and diff mode, and seeing idempotence in action.
Keep Reading
If you have not built the lab yet, start with the first article in the series: Set Up an Ansible Practice Lab in Under 10 Minutes. The lab also has a home at CloudSprocket Labs, with a quick start, FAQ and the full article series.
You can find more DevOps and automation articles on the homepage at alishaikh.me.
Official Documentation
If you want to dig deeper into what we used today, these official guides are the best places to start:
- Inventory: the inventory guide covers everything
hosts.ymlcan express, including the INI format and dynamic inventories that build themselves from your cloud provider. - Targeting: the patterns guide goes beyond the unions and exclusions we used, with wildcards, regular expressions and intersections.
- Ad-hoc commands: the ad-hoc commands guide has more one-liners across file transfer, package management and service control.
- Facts: facts and magic variables lists everything Ansible knows about your hosts, and the setup module documents the
filtersyntax we used to tame it. - Command vs shell: the command module page spells out exactly what it does and does not support, which is the quickest way to settle the "why is my pipe not working" confusion.