How to Enter Download Mode on Acebott ESP32 Max V1.0
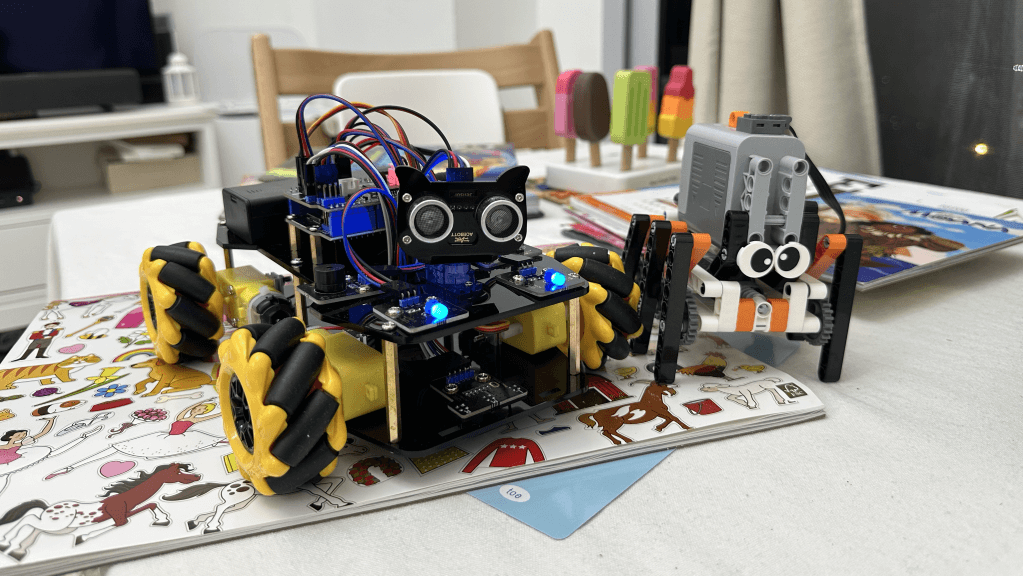
Problem Solved: Flashing firmware on the Acebott QD001 Smart Robotics Car Kit
The Problem
While working on the Acebott QD001 4WD Robot Kit, I encountered a frustrating issue where the board wouldn't enter download mode for flashing.
Web Flasher Error:
❌ 烧录失败: ESPError: Failed to connect with the device
The console log showed the ESP32 booting normally instead of entering download mode:
rst:0x1 (POWERON_RESET),boot:0x17 (SPI_FAST_FLASH_BOOT)
Arduino IDE Error:
A fatal error occurred: Failed to connect to ESP32: Wrong boot mode detected (0x13)!
The chip needs to be in download mode.
Both errors mean the same thing: the ESP32 is booting into its existing firmware instead of waiting for new firmware.
Understanding the Issue
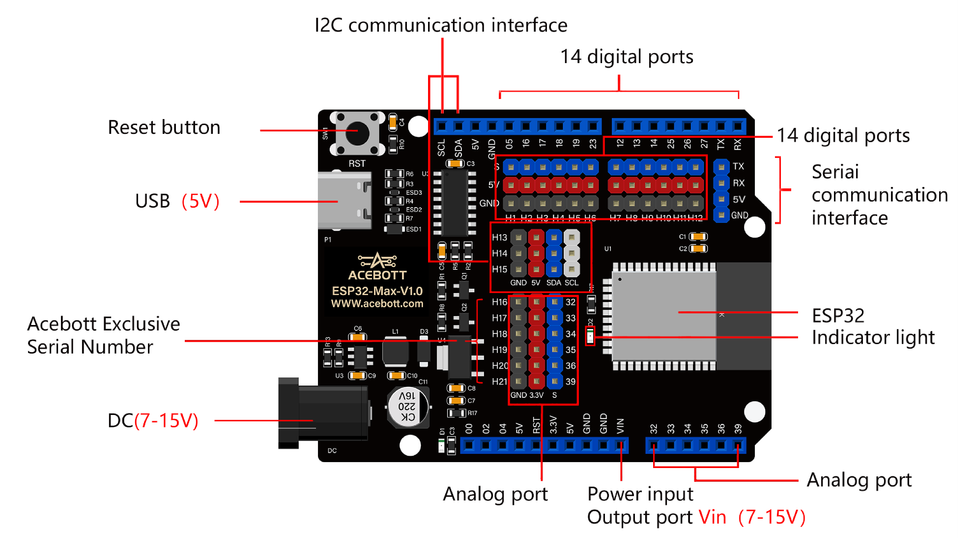
The ESP32 enters download mode when GPIO0 is held LOW during reset. Most ESP32 dev boards have a BOOT button that pulls GPIO0 to ground. The Acebott ESP32 Max V1.0 doesn't have this button, so you need to do it manually with a jumper wire.
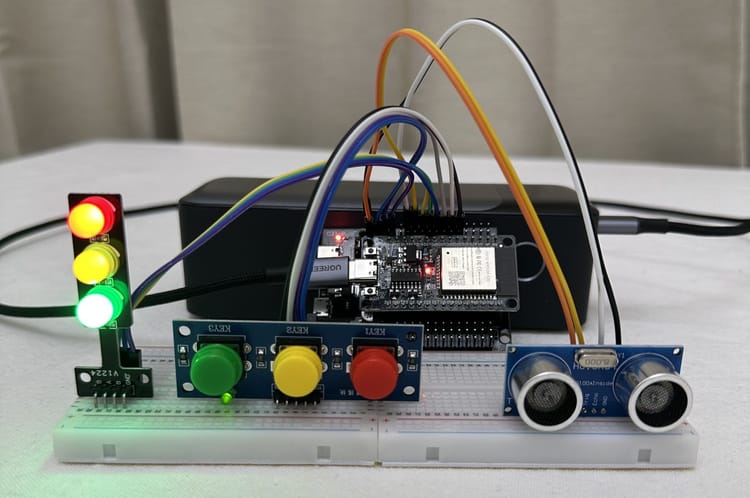
The Solution: Connect GPIO0 to GND
Before You Start
Important: Disconnect any external power source (battery pack, DC adapter) before connecting the board to your PC. Only use USB power during flashing.
Steps
- Connect GPIO0 (labelled "00") to GND using a jumper wire
- Press the RST button to reset the board into download mode
- Start the flash/upload process in Arduino IDE or web flasher
- Wait for flashing to complete entirely
- Disconnect the jumper wire after flashing is done
- Press RST again to boot into normal mode

Pin Locations:
- 00 (GPIO0) - Bottom row, analog port section
- GND - Multiple locations available (bottom row near 00, or any GND pin)
- RST - Button in top-left corner
Quick Checklist
- [ ] Battery pack disconnected or powered off
- [ ] USB cable connected to PC (use data cable, not charge-only)
- [ ] Jumper wire connecting 00 to GND
- [ ] Press the RST button
- [ ] Start upload in Arduino IDE/web flasher
- [ ] Wait for upload to complete
- [ ] Remove jumper wire
- [ ] Press RST to run your program
How to Verify Download Mode
When successfully in download mode, the serial output should show:
rst:0x1 (POWERON_RESET),boot:0x3 (DOWNLOAD_BOOT(UART0/UART1/SDIO_REI_REO_V2))
waiting for download
If you see boot:0x17 (SPI_FAST_FLASH_BOOT) Instead, the board is in normal boot mode—reconnect the jumper and try again.
Troubleshooting
| Issue | Solution |
|---|---|
| No COM port detected | Install CH340 driver (Windows / Mac) |
| Still getting boot mode error | Double-check jumper is firmly connected to both 00 and GND |
| Upload starts but fails | Keep the jumper connected until upload finishes completely |
| Erratic behavior | Make sure battery pack is disconnected during USB flashing |
Resources
Written after debugging the Acebott QD001 robotics kit. If this helped, share it with fellow makers!

Member discussion